Curtains are a great way to add some color, style and privacy to your windows. But before you can enjoy your new curtains, you need to know how to position a curtain rod correctly. A curtain rod that is too high, too low, too wide or too narrow can ruin the look of your curtains and your room. In this blog post, we will show you how to position a curtain rod like a pro in just a few easy steps.
To position a curtain rod, you need to measure the width and height of your window, decide on the type and length of your curtains, mark the location of the brackets on the wall, and install the hardware and the rod.
Measure Your Window
The first step is to measure the width and height of your window. This will help you determine how long and wide your curtain rod should be. You can use a tape measure or a ruler for this task.
To measure the width of your window, measure from one edge of the window frame to the other. Add 2 to 5 inches to each side if you want your curtains to partially cover the window when open. Add 8 to 15 inches to each side if you want your curtains to completely clear the window when open. This will also make your window appear wider and let in more light.
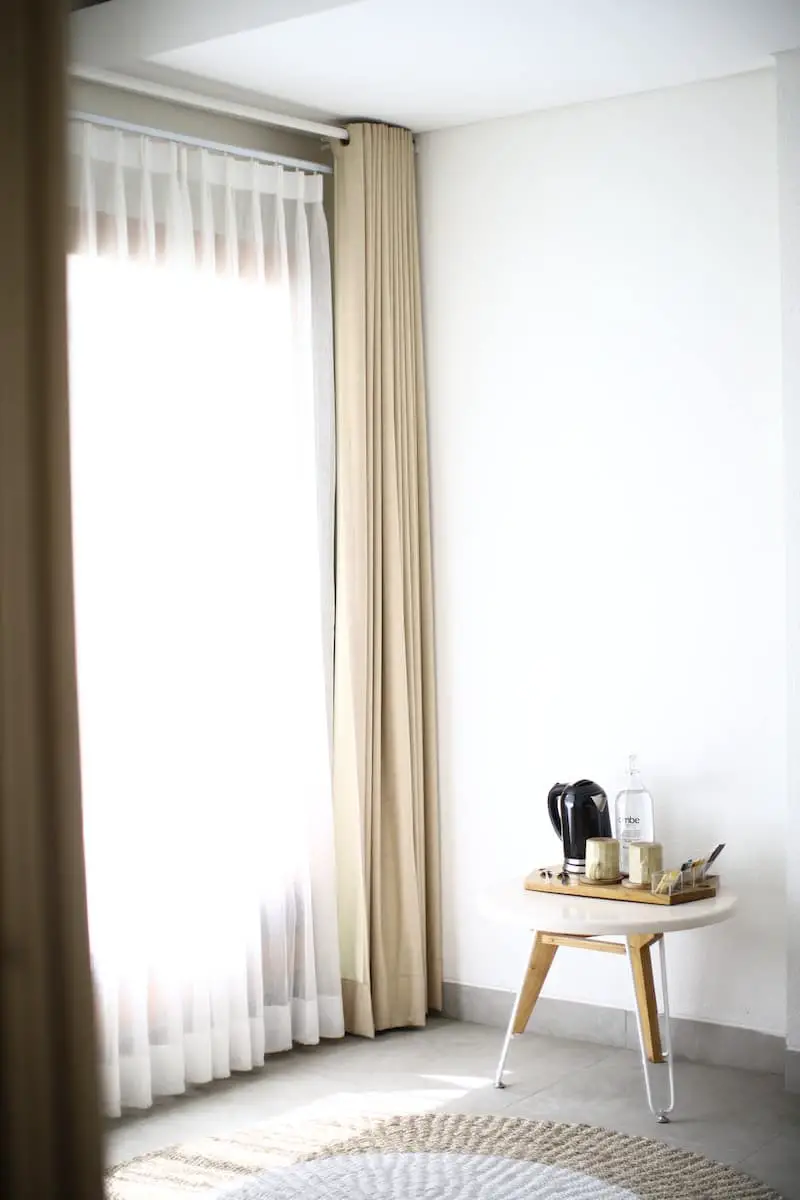
To measure the height of your window, measure from the top edge of the window frame to the floor. A curtain rod usually sets about 4 inches above the window, but you can adjust this depending on your ceiling height and curtain length. A higher rod can make your room feel taller and more spacious. However, keep in mind that floor-length curtains come in standard lengths of 84, 95, 108 and 120 inches. If you raise the rod too high, you may need to hem your curtains or buy custom ones.

Decide on Your Curtains
The next step is to decide on the type and length of your curtains. This will affect how you position your curtain rod as well.
The most common types of curtains are:
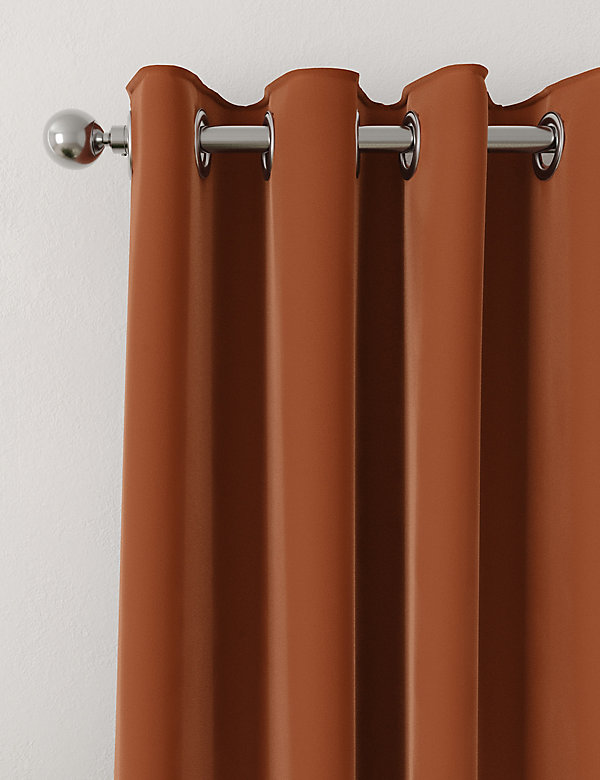
- Grommet curtains: These have metal-lined holes at the top that slide over the rod. They are easy to hang and create a modern look.
- Tab-top curtains: These have fabric loops at the top that hang over the rod. They are casual and relaxed.
- Ring curtains: These have clips or hooks that attach to the curtain and hang on the rod. They are versatile and elegant.
- Rod-pocket curtains: These have a pocket at the top that slides over and conceals the rod. They are simple and classic.
The type of curtain you choose can affect how high you position your rod. For example, grommet curtains hang about 1 inch below the rod, while tab-top curtains hang above the rod. You need to account for this difference when measuring and marking your rod height.
The length of your curtain also matters. You can choose from different lengths depending on your preference and style:
- Sill-length curtains: These end at or slightly above the window sill. They are ideal for small windows or windows with radiators or furniture below them.
- Apron-length curtains: These end about 4 inches below the window sill. They are suitable for most windows and create a clean look.
- Floor-length curtains: These end about 1 inch above the floor. They are perfect for large windows and create a dramatic look.
- Puddle-length curtains: These end several inches below the floor. They are luxurious and romantic.
Mark Your Bracket Location
The third step is to mark where you will install your brackets on the wall. You will need a pencil, a level and a cardboard template for this step.
A cardboard template is a handy tool that helps you mark both sides of the window evenly and levelly. To make one, cut out a corner from a square piece of cardboard that can fit over the top corner of your window frame. Measure and mark your desired bracket location on the cardboard template based on your width and height measurements. Make two holes using your bracket as a guide.
Now place the template on one side of the wall, slide it against the window frame, and mark where the holes are with a pencil. Use a level to make sure your template is straight. Repeat this process on the other side of the wall.
If you have a long span of over 4 feet or are using a thin rod, you may also need to add a center bracket to prevent the rod from sagging. To mark the location of the center bracket, measure the midpoint between the two side brackets and mark it with a pencil.
Install the Hardware and the Rod
The final step is to install the hardware and the rod. You will need a drill, screws, wall anchors, a screwdriver and a hammer for this step.
Most walls are made of drywall, which is not strong enough to support the weight of your curtains. You will need to use wall anchors to provide proper support for your brackets. Wall anchors are plastic or metal inserts that expand inside the wall when you insert a screw into them.
To install the hardware and the rod, follow these steps:
- Drill pilot holes where you marked the bracket locations with a pencil. Use a drill bit that is slightly smaller than your wall anchors.
- Tap the wall anchors into the pilot holes with a hammer until they are flush with the wall.
- Fasten the brackets to the wall with screws and a screwdriver. Make sure they are level and secure.
- Place the curtain rod into the brackets. If you are using a double rod, insert the back rod first, then the front rod.
- Hang your curtains on the rod. Thread the rod through the openings if your curtains have grommets or pockets. Otherwise, attach the curtains to the rod with rings or clips.

FAQs
Here are some frequently asked questions about how to position a curtain rod:
- How do I choose the right size of curtain rod for my window?
- The size of your curtain rod depends on the width of your window and how much you want your curtains to extend beyond it. A general rule of thumb is to add 10 to 20 inches to your window width for your curtain rod length. For example, if your window is 40 inches wide, your curtain rod should be 50 to 60 inches long.
- How do I keep my curtain rod from sliding or sagging?
- To prevent your curtain rod from sliding or sagging, you can use rubber bands, zip ties or pipe insulation. Place them over the rod snug against each side of the brackets. They will hold the rod in place as you open and close your curtains. You can also use a center bracket for extra support if you have a long or thin rod.
- How do I adjust my curtain length without hemming?
- If your curtains are too long for your window, you can adjust them without hemming by using curtain clips, hooks or pins. You can fold or pleat the excess fabric at the top or bottom of your curtains and secure it with these accessories. You can also use tiebacks or holdbacks to gather and lift your curtains on the sides.
Wrap Up
Now you know how to position a curtain rod like a pro. With some simple tools and measurements, you can hang your curtains in no time and transform your windows and your room. Remember to choose the right type and length of curtains for your window and style, and to mark and install your brackets levelly and securely. Have fun decorating your windows with beautiful curtains!