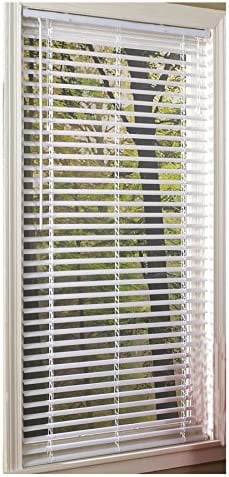
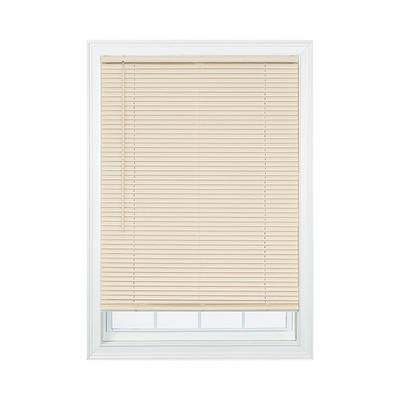
Project Source blinds are a popular brand of window treatments that are sold at Lowe’s. They come in various styles, sizes, and colors to suit any decor. They also offer cordless options that are safe and convenient for children and pets. But how do you hang them in your windows? In this post, we’ll show you how to install Project Source blinds in four easy steps.
How to hang Project Source blinds with drilling holes:
- Measure the window for the size of the blinds, allowing for about 1/2 inch overlap on each side of the window. You can choose to mount your blinds inside or outside the window frame, depending on your preference and window type.
- Install the mounting brackets on each side of the window frame according to the manufacturer’s instructions. You can use a drill or a screwdriver to attach the brackets with the screws provided. Make sure they are level and aligned with your marks.
- Attach the upper and lower mounting brackets to the blinds’ headrail. The headrail is the top part of the blinds that holds the slats and the mechanism. You can snap or slide the headrail into the brackets, depending on the model of your blinds.
- Place the blinds in the mounting brackets and secure them with the screws or clips provided. You can also attach the valance clips and slats to cover the headrail and give your blinds a finished look.
That’s it! You have successfully installed your Project Source blinds with drilling holes. Now you can enjoy your new window coverings and adjust them as you like.

How to hang Project Source blinds without drilling holes:
If you don’t want to drill holes in your walls or window frames, you can still install Project Source blinds using alternative methods, such as adhesive strips or magnets. However, this may not work for all models or sizes of blinds, as they may be too heavy or bulky for these methods. Check the specific model’s directions for warnings about using methods other than screws or nails.
To hang Project Source blinds without drilling holes, you need to:
- Measure the window for the size of the blinds, allowing for about 1/2 inch overlap on each side of the window.
- Install the adhesive strips or magnets on each side of the window frame according to the manufacturer’s instructions. Make sure they are level and aligned with your marks.
- Attach the upper and lower mounting brackets to the blinds’ headrail.
- Place the blinds in the adhesive strips or magnets and press firmly to secure them.
That’s it! You have successfully installed your Project Source blinds without drilling holes. Now you can enjoy your new window coverings and adjust them as you like.

Tips and tricks for hanging Project Source blinds:
- If you are outside mounting your shades, then you should position the headrail of the blinds on the trim or wall above the window. Move the headrail around until you are happy with the blind placement.
- If you are inside mounting your shades, then you should position the headrail inside of the window frame. Make sure it is level and centered.
- Use a pencil or a marker to mark where you want to place your brackets and screws. This will help you avoid making mistakes and having to redo your work.
- Use a drill or a screwdriver to attach the brackets and screws. Make sure they are tight and secure, but not too tight that they damage the window frame or the blinds.
- Use a level or a tape measure to check that your blinds are straight and even. You can adjust them by loosening or tightening the screws on the brackets.
- Use a pair of scissors or a utility knife to trim any excess slats or cords from your blinds. Be careful not to cut too much or too close to the headrail.

FAQs about Project Source blinds:
Q: What are the benefits of Project Source blinds?
A: Project Source blinds have several advantages over other brands of blinds. They are:
- Affordable, as they are sold at low prices at Lowe’s.
- Durable, as they are made of high-quality materials that resist fading, warping, and cracking.
- Easy to install, as they come with clear instructions and hardware that fit most windows.
- Stylish, as they come in various styles, sizes, and colors to suit any decor.
Q: How do I clean my Project Source blinds?
A: Project Source blinds are easy to clean and maintain. You can use a vacuum cleaner, a dust cloth, or a damp sponge to remove dust and dirt from your blinds. You can also use mild soap and water to wipe away any stains or spills. Avoid using harsh chemicals or abrasive cleaners that may damage your blinds.
Q: How do I fix my Project Source blinds if they stop working?
A: Project Source blinds are designed to last for a long time, but sometimes they may malfunction due to wear and tear, improper installation, or misuse. If your Project Source blinds stop working, you can try these troubleshooting tips:
- Check that the batteries in your remote control are not dead or low.
- Check that the headrail is securely attached to the brackets and that there are no obstructions in its way.
- Check that the slats are not bent or twisted and that they move freely along the headrail.
- Check that there are no knots or tangles in the cords inside the headrail.
- If none of these tips work, contact your manufacturer or retailer for assistance or replacement.
Wrap up
Project Source blinds are a great choice for anyone who wants to add style, convenience, and affordability to their windows. They are easy to install with or without drilling holes, and they come in various styles, sizes, and colors to suit any decor. Follow our simple guide on how to hang Project Source blinds and enjoy your new window treatments today!
Dale is the colorful mind behind HuetifulHomes.com, where he shows you how to create a home that is as fun and fabulous as you are. He has a passion for color and a knack for DIY, with years of interior design experience he shares his tips and tricks on how to create a home that reflects your personality and style. He believes that color is the key to happiness, and he wants to help you make your home more Huetiful.


