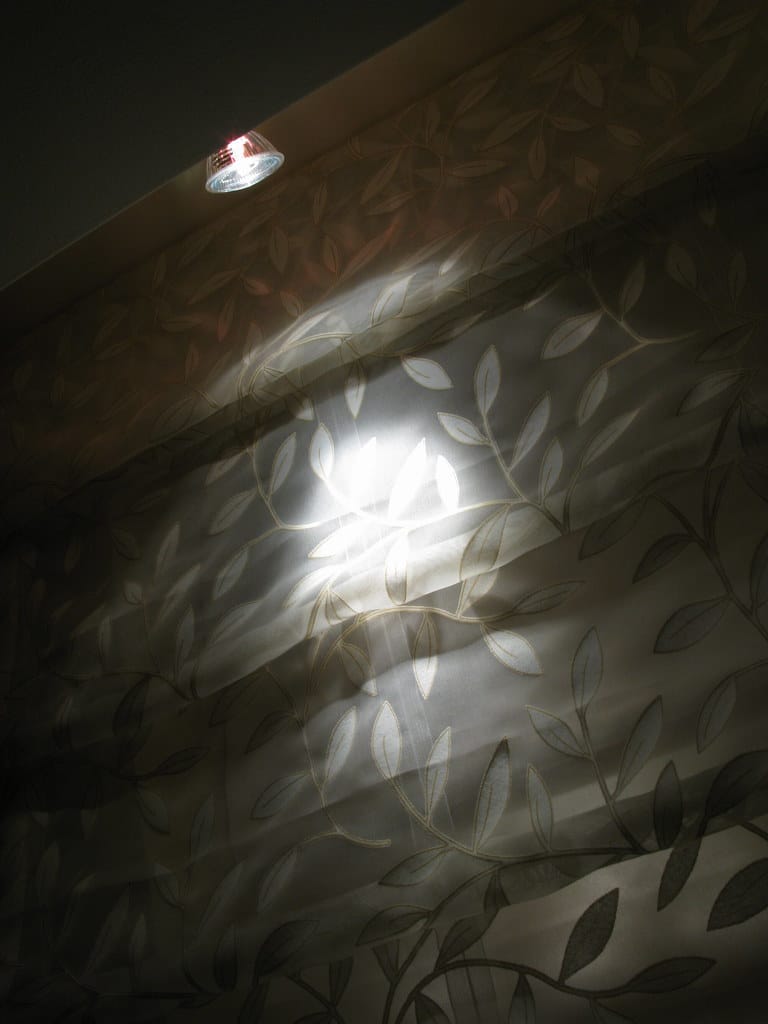
Roman blinds are a stylish and elegant option for window treatments. They are made of a single piece of fabric that folds up neatly when raised and hangs flat when lowered. They can provide light control, privacy, and insulation for any room in your home. However, roman blinds can also be tricky to hang and install correctly. In this post, we’ll show you how to hang roman blinds in a few easy steps.
How to hang roman blinds? To hang roman blinds, you’ll need a drill, a screwdriver, a tape measure, a pencil, a level, some screws, some wall plugs, some brackets, and your roman blinds. You’ll also need to decide whether you want to use an interior mount or an exterior mount for your blinds. Here are the steps to follow:
The first step to hang roman blinds is to decide on the mounting style. You can choose between an interior mount or an exterior mount for your blinds.
An interior mount involves hanging the blinds inside the window frame. This is a good option if you have sturdy and square window frames that are deeper than 3-4 inches (7.6-10.2 cm). An interior mount gives a more finished and sleek look and does not cover the window frame molding.
An exterior mount involves hanging the blinds outside the window frame. This is a good option if you have shallow or uneven window frames that are less than 3-4 inches (7.6-10.2 cm) deep. An exterior mount allows you to cover the entire window and create the illusion of a larger window.
The next step is to measure the window where you want to hang your roman blinds. You’ll need to measure the width and height of the window depending on the mounting style you choose.
If you choose an interior mount, measure the width and height of the window frame from inside edge to inside edge. Make sure to measure at three different points (top, middle, and bottom) for both width and height and use the smallest measurement.
If you choose an exterior mount, measure the width and height of the window frame from outside edge to outside edge. Add at least 2 inches (5 cm) on each side for extra coverage and overlap. You can also add more inches if you want more privacy or light control.
The third step is to mark the position of the brackets that will hold your roman blinds. You’ll need two brackets for each blind, one on each end of the headrail.
If you choose an interior mount, mark the position of the brackets on the top inside edge of the window frame. Make sure to align them with the ends of the headrail and leave some space for clearance.
If you choose an exterior mount, mark the position of the brackets on the wall above the window frame. Make sure to align them with the ends of the headrail and leave some space for clearance.
Use a pencil and a level to mark the bracket position accurately and evenly.
The fourth step is to drill holes and attach brackets to your marked position. You’ll need a drill, a screwdriver, some screws, and some wall plugs for this step.
If you are drilling into wood or drywall, you can use screws directly without wall plugs. If you are drilling into concrete or brick, you’ll need to use wall plugs to secure the screws.
Use a drill bit that matches the size of your screws or wall plugs and drill holes at your marked position. Insert wall plugs if needed and then attach brackets with screws using a screwdriver.
Make sure to tighten the screws firmly and check that the brackets are level and aligned.
The final step is to hang your roman blinds on your brackets. You’ll need your roman blinds for this step.
Roman blinds have a headrail that fits into the brackets with a snap mechanism. To hang your blinds, simply lift them up and align them with the brackets. Push them gently until they click into place.
Make sure that your blinds are securely attached and that they operate smoothly.
Q: How do I adjust the length of my roman blinds?
A: You can adjust the length of your roman blinds by using the cord lock system. The cord lock system allows you to raise and lower your blinds to your desired height and lock them in place. To use the cord lock system, pull the cord gently until the blinds reach your desired height. Then, move the cord to the side to lock it in place. To release the cord lock, move the cord to the center and pull it gently.
Q: How do I clean my roman blinds?
A: You can clean your roman blinds by dusting them regularly with a feather duster or a soft cloth. You can also vacuum them with a soft brush attachment to remove any stubborn dust or dirt. If your roman blinds are stained or soiled, you can spot clean them with a mild soap and water solution. Use a soft sponge or cloth to dab at the stain until it fades away. Do not rub or scrub too hard as this may damage the fabric. Rinse with clean water and blot dry with a towel.
Q: How do I remove my roman blinds?
A: You can remove your roman blinds by reversing the steps of hanging them. To remove your blinds, simply pull them gently from the brackets until they release. Be careful not to drop or damage them. Then, unscrew the brackets from the wall or window frame and fill in any holes with spackle or caulk.
Roman blinds are a stylish and elegant option for window treatments that can provide light control, privacy, and insulation for any room in your home. However, roman blinds can also be tricky to hang and install correctly. To hang roman blinds, you’ll need a drill, a screwdriver, a tape measure, a pencil, a level, some screws, some wall plugs, some brackets, and your roman blinds. You’ll also need to decide whether you want to use an interior mount or an exterior mount for your blinds. Then, follow these steps:
By following these steps, you can hang your roman blinds easily and enjoy their beauty and functionality.

Dale is the colorful mind behind HuetifulHomes.com, where he shows you how to create a home that is as fun and fabulous as you are. He has a passion for color and a knack for DIY, with years of interior design experience he shares his tips and tricks on how to create a home that reflects your personality and style. He believes that color is the key to happiness, and he wants to help you make your home more Huetiful.


