
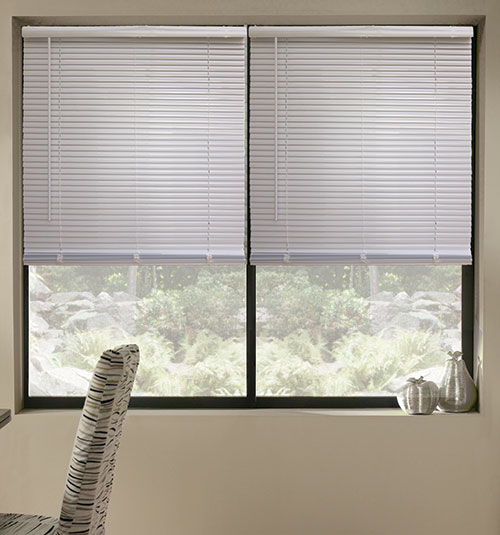
If you have a large or wide window, you might want to install two blinds in one window instead of one. This can give you more flexibility and control over the light and privacy in your room. You can also create a more customized and stylish look by mixing and matching different colors or types of blinds. But how do you install two blinds in one window without making a mess or damaging your walls? Here are some easy and fun steps to do it.
How to install 2 blinds in one window: You can follow these steps:
The first and most important step in installing two blinds in one window is to measure your window accurately. This will ensure that you order the right size of blinds that will fit your window perfectly. You can choose to install your blinds on the inside or outside of your window frame, depending on your preference and window style. Follow the manufacturer’s instructions on how to measure your window for each option. You will need a tape measure, a pencil and a paper for this step.
For two separate blinds in one window, take the smallest width and divide it by 2. Then add 1/4″ to the width of each blind. (The factory will deduct 1/2″ from each blind.) For example, if your window measures 80″ wide, calculate the width of each blind as follows:
80″ ÷ 2 = 40″
Then add 1/4″ to the width of each blind:
Blind 1 total width: 40″ + ¼”= 40 ¼”
Blind 2 total width: 40″ + ¼”= 40 ¼”

The next step is to decide if you want to install your blinds on the inside or outside of your window frame. This will affect how you install the brackets and how your blinds will look.
Inside mount installation means that your blinds will be mounted inside the window frame, leaving some space around them. This creates a clean and sleek look that works well with modern or minimalist decor. However, this option may not be possible if your window frame is too shallow or has obstructions like handles or locks.
Outside mount installation means that your blinds will be mounted outside the window frame, covering it completely. This creates a more dramatic and cozy look that works well with traditional or rustic decor. However, this option may require more hardware and drilling.
The next step is to install the brackets for each blind on your window. You will need some screws and a drill for this step. Follow the manufacturer’s instructions on how to install the brackets for each blind on your window.
For inside mount installation, you will need to attach the brackets to the top or sides of your window frame using screws. Make sure they are level and aligned with the top of your window.
For outside mount installation, you will need to attach the brackets to the wall above or beside your window frame using screws. Make sure they are level and evenly spaced from the edge of your window.
The next step is to hang the headrail for each blind on the brackets. The headrail is the long metal piece that holds the slats or fabric of your blind. You will need some clips or hooks for this step. Follow the manufacturer’s instructions on how to hang the headrail for each blind on the brackets.
For most types of blinds, you will need to hook the front of the headrail into the front of the brackets, then rotate it back until it snaps into place.
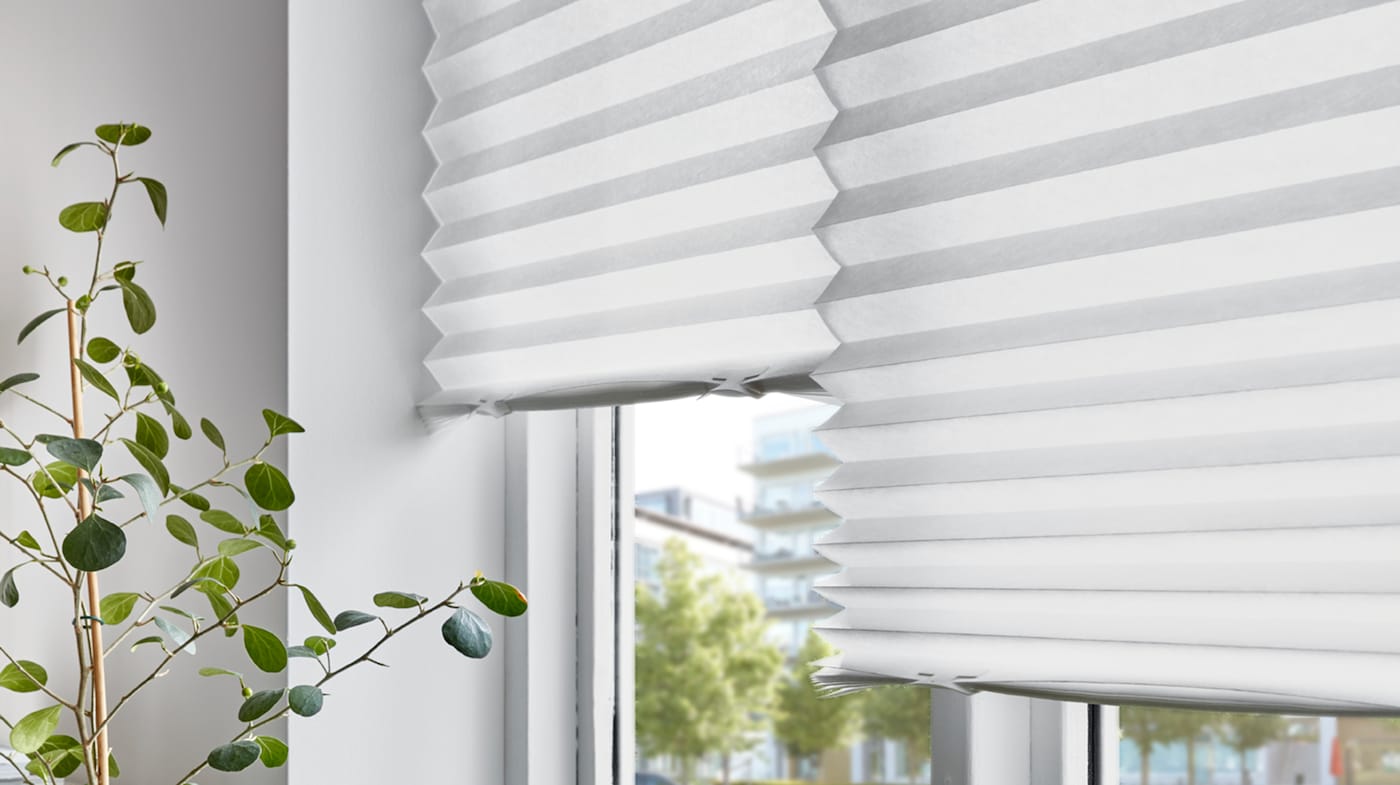
The next step is to attach the slats or fabric for each blind on the headrail. The slats or fabric are the parts of your blind that control the light and privacy in your room. You will need some clips or hooks for this step. Follow the manufacturer’s instructions on how to attach the slats or fabric for each blind on the headrail.
For most types of blinds, you will need to slide the slats or fabric onto the headrail using clips or hooks.
The final step is to install the valance for each blind on the headrail. The valance is the decorative piece that covers the top of your blind and hides the headrail and brackets. You will need some clips or hooks for this step. Follow the manufacturer’s instructions on how to install the valance for each blind on the headrail.
For most types of blinds, you will need to snap the valance onto the headrail using clips or hooks.
Installing two blinds in one window can be an easy and fun way to dress up your window and enhance your room. You don’t need to be a professional or have a lot of experience to do it. You just need to follow some easy and fun steps and use some basic tools. By measuring your window, deciding on the mount type, installing the brackets, hanging the headrail, attaching the slats or fabric and installing the valance, you can install two blinds in one window in no time. Enjoy your new window treatments!

Dale is the colorful mind behind HuetifulHomes.com, where he shows you how to create a home that is as fun and fabulous as you are. He has a passion for color and a knack for DIY, with years of interior design experience he shares his tips and tricks on how to create a home that reflects your personality and style. He believes that color is the key to happiness, and he wants to help you make your home more Huetiful.

