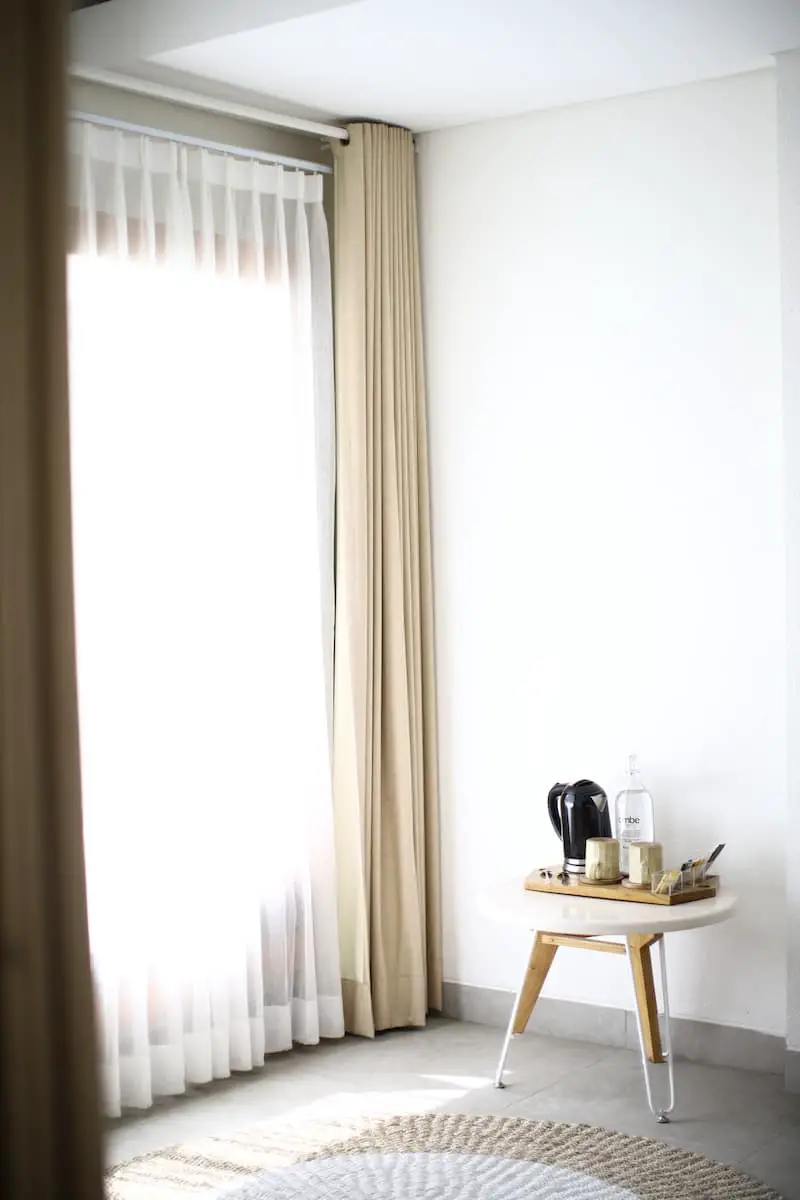
Curtains are not just a way to cover up your windows and keep out the sun. They are also a way to show off your personality and style. Whether you want a chic and modern rod, a cozy and rustic rod, or a glamorous and elegant rod, you need to know how to mount it to the wall properly. Mounting a curtain rod to the wall is not rocket science, but it does require some attention and accuracy. You don’t want to end up with a rod that is crooked, wobbly, or too high or low. That would be a disaster. That’s why we’re here to help you with this simple guide on how to mount a curtain rod to the wall and make it look fabulous.
To mount a curtain rod to the wall, you need to measure the width and length of your window and the curtain rod. You also need to decide how high and how far from the window you want to hang the rod. Then, you need to mark the position of the brackets on the wall, drill holes and insert anchors.
Before you start mounting, make sure you have everything you need. Here’s a list of tools and materials that will make your life easier:

The first step is to measure your window and your rod to determine where to place the brackets on the wall. You want your curtains to cover the window properly and create a balanced look.
To measure the width of your window, use a measuring tape and measure from one inside edge of the window frame to the other. To measure the length of your window, measure from the top inside edge of the window frame to where you want your curtains to end.
To measure the width of your rod, measure from one end to the other, excluding the finials (the decorative ends). To measure the length of your rod, measure from one end cap or eyelet to the other.
:max_bytes(150000):strip_icc()/how-to-install-curtain-rods-6751198-01-cdd7a7f7308f4112b7f7b37d673f2b9e.jpg)
The next step is to decide how high and how far from the window you want to hang your rod. This will affect how much light and privacy you get in your room, as well as how big or small your window appears.
A good rule of thumb is to hang your rod at least 2 inches above the top of the window frame or as high as possible under the ceiling or crown molding. This will make your window look taller and more spacious.
Another rule of thumb is to extend your rod at least 6 inches beyond each side of the window frame or as far as possible without hitting the wall. This will make your window look wider and allow more light in when you open the curtains.
The third step is to mark the position of the brackets on the wall with a pencil. You want your brackets to be level and aligned with your rod.
To mark the position of the brackets, use a measuring tape and a carpenter’s level and follow these steps:

The fourth step is to drill holes and attach brackets with screws. You want your brackets to be secure and stable on the wall.
To drill holes and attach brackets, use a drill, screws, screw anchors (if needed), screwdriver, and stepladder and follow these steps:
The fifth and final step is to slide curtains onto the rod and place the rod onto the brackets. You want your curtains to hang evenly and smoothly on the rod.
To slide curtains onto the rod and place the rod onto the brackets, use a stepladder and follow these steps:

Mounting a curtain rod to the wall is a simple and quick way to install your curtain rod and make your windows look amazing. It can also help you control the light, temperature and privacy in your room, and create a cozy and inviting atmosphere. That’s why we shared with you some tips and tricks on how to mount a curtain rod to the wall like a pro.
You learned how to measure the width and length of your window and the curtain rod, how to decide how high and how far from the window you want to hang the rod, how to mark the position of the brackets on the wall, how to drill holes and attach brackets with screws, how to slide the curtains onto the rod, and how to place the rod onto the brackets.
We hope you enjoyed this article and found it useful. Now go ahead and try mounting a curtain rod to the wall like a pro and see how it transforms your windows into something spectacular. And don’t forget to snap a picture and share it with us. We’d love to see your fabulous results.

Dale is the colorful mind behind HuetifulHomes.com, where he shows you how to create a home that is as fun and fabulous as you are. He has a passion for color and a knack for DIY, with years of interior design experience he shares his tips and tricks on how to create a home that reflects your personality and style. He believes that color is the key to happiness, and he wants to help you make your home more Huetiful.