Hey there, chilly homeowners! Are you tired of shivering in your own space and watching your heating bills soar? Well, have no fear, because we’ve got a fabulous solution that will keep you warm, save you money, and add a touch of luxury to your curtains. It’s time to cozy up and welcome the magic of thermal lining into your life. At Huetifulhomes.com, we’re here to show you just how easy and budget-friendly it can be to transform your curtains into insulating wonders. So, grab your cup of cocoa and get ready to learn the art of curtain coziness!
How do you add thermal lining to curtains?
To add thermal lining to curtains, you need to measure your curtains and cut the thermal fabric accordingly. Then, you need to attach the thermal fabric to the back of your curtains using a sewing machine or some fabric glue. Finally, you need to hang your curtains and enjoy the benefits of thermal lining.
The first step is to measure your curtains and cut the thermal fabric accordingly. You will need enough thermal fabric to cover the entire back of your curtains, plus some extra for hemming. Here are the steps to follow:

The next step is to attach the thermal fabric to the back of your curtains using a sewing machine or some fabric glue. There are two ways to do this, depending on the type of curtain you have: eyelet curtains or tape heading curtains.
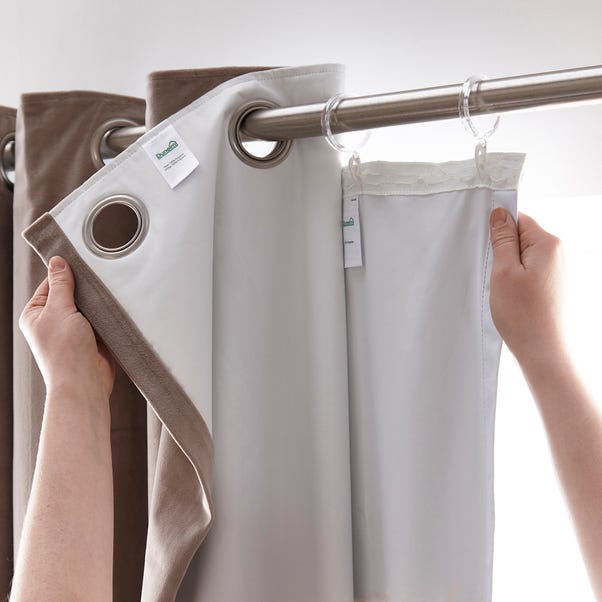
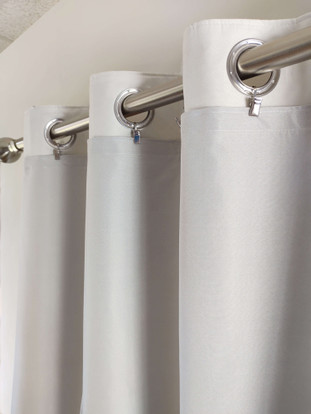
Eyelet curtains are curtains that have metal rings at the top that slide onto a curtain rod. To attach thermal lining to eyelet curtains, you will need some curtain hooks and rings that match the size of your eyelets. Here are the steps to follow:

Tape heading curtains are curtains that have a strip of tape at the top that has pockets for inserting curtain hooks. To attach thermal lining to tape heading curtains, you will need some curtain hooks that match the size of your tape pockets. Here are the steps to follow:
The final step is to hang your thermal lined curtains and enjoy the benefits of thermal lining. Here are some tips to make the most of your thermal lined curtains:

What is thermal lining?
Thermal lining is a special type of fabric that helps to insulate your windows and keep the cold air out and the warm air in. It can also block out unwanted light and noise, making your room more comfortable and peaceful.
What are the benefits of thermal lining?
Thermal lining can help you save money on your heating bills, as it reduces heat loss through your windows. It can also make your room more cozy and cozy, as it adds an extra layer of softness and thickness to your curtains. It can also improve your sleep quality, as it blocks out light and noise that could disturb you.
What are the best fabrics for thermal lining?
The best fabrics for thermal lining are those that have a high thermal resistance, meaning they can prevent heat transfer. Some examples are fleece, flannel, wool, cotton, polyester, or a blend of these. You can also buy ready-made thermal lining that is specially designed for this purpose.
And there you have it, dear readers! You’ve officially earned your thermal lining superhero cape. By following our simple steps and infusing your curtains with the power of insulation, you’ve taken a major leap toward a cozier, more energy-efficient home. Now, you can say goodbye to the chill, embrace those lowered heating bills, and bask in the luxurious ambiance of your newly revamped curtains.
Remember, at Huetifulhomes.com, we’re all about making your home the coziest, most stylish haven it can be. So go ahead, tackle this DIY project with confidence, and enjoy the many benefits of thermal lining. And hey, if you have any questions or want to share your curtain transformation stories, we’re all ears. Together, we’ll conquer the cold, one curtain at a time. Happy sewing, cozy homemakers!

Dale is the colorful mind behind HuetifulHomes.com, where he shows you how to create a home that is as fun and fabulous as you are. He has a passion for color and a knack for DIY, with years of interior design experience he shares his tips and tricks on how to create a home that reflects your personality and style. He believes that color is the key to happiness, and he wants to help you make your home more Huetiful.