Bay windows are a beautiful feature in any home, but they can also pose a challenge when it comes to choosing and installing window treatments. Blinds are a practical and versatile option for bay windows, as they can provide light control, privacy, insulation, and style. However, hanging blinds in a bay window requires some careful measuring, planning, and fitting to ensure a perfect fit and a neat look. Here are some tips on how to hang blinds in a bay window, depending on the type and style of your blinds:
How To Hang Roller Blinds In A Bay Window
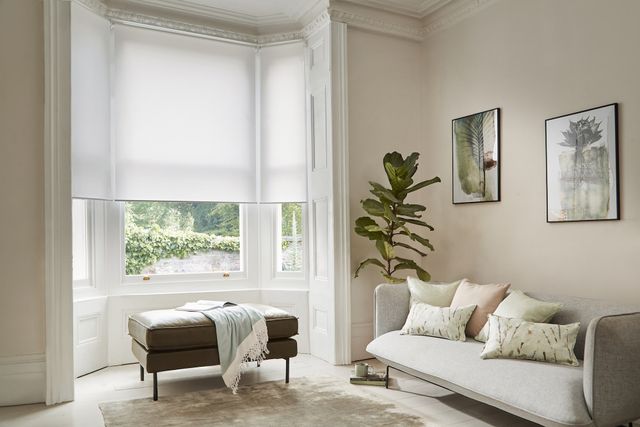
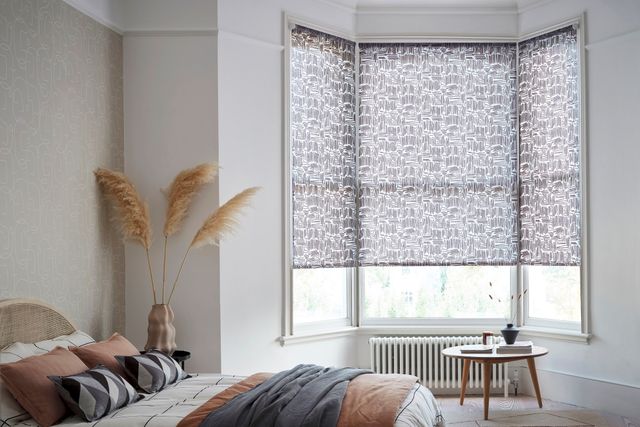
Roller blinds are a simple and sleek choice for bay windows, as they can fit snugly into the window recess or outside the window frame. You can choose from different fabrics, colors, and patterns to suit your decor and preference. Here are the basic steps to hang roller blinds in a bay window:
- Measure the width and drop of each window in your bay. You can either measure inside the window recess for a recessed fit or outside the window frame for a face-fix fit. For a recessed fit, measure from the inset on the left side to the inset on the right side near the top of each window, where the bracket will be installed. Also measure near the middle and bottom of each window, in case your window frame is not perfectly square. Use the smallest width measurement you get for each window, then subtract ⅜ of an inch (1 cm) to be on the safe side. For a face-fix fit, measure from corner to corner of each window at the top, where the bracket will be installed. Add at least 2 inches (5 cm) to each side for overlap and light control.
- Order your roller blinds according to your measurements and preferences. You can either order custom-made roller blinds or buy ready-made roller blinds and cut them to size if necessary.
- Install the brackets for each roller blind on the wall or inside the window recess, following the manufacturer’s instructions. Use a drill, screws, wall plugs, and a spirit level to ensure a secure and level installation.
- Attach the roller blind to the brackets by sliding it into place until it snaps securely. Make sure the blind is facing the right way and rolls up and down smoothly.
- Repeat the process for each window in your bay.

How To Hang Venetian Blinds In A Bay Window
Venetian blinds are a classic and elegant choice for bay windows, as they can offer precise light control, privacy, and ventilation. You can choose from different materials, such as wood, faux wood, metal, or PVC, and different slat sizes, colors, and finishes to suit your decor and preference. Here are the basic steps to hang Venetian blinds in a bay window:
- Measure the width and drop of each window in your bay. You can either measure inside the window recess for a recessed fit or outside the window frame for a face-fix fit. For a recessed fit, measure from the inset on the left side to the inset on the right side near the top of each window, where the bracket will be installed. Also measure near the middle and bottom of each window, in case your window frame is not perfectly square. Use the smallest width measurement you get for each window, then subtract ⅜ of an inch (1 cm) to be on the safe side. For a face-fix fit, measure from corner to corner of each window at the top, where the bracket will be installed. Add at least 2 inches (5 cm) to each side for overlap and light control.
- Order your Venetian blinds according to your measurements and preferences. You can either order custom-made Venetian blinds or buy ready-made Venetian blinds and cut them to size if necessary.
- Install the brackets for each Venetian blind on the wall or inside the window recess, following the manufacturer’s instructions. Use a drill, screws, wall plugs, and a spirit level to ensure a secure and level installation.
- Attach the Venetian blind to the brackets by sliding it into place until it snaps securely. Make sure the blind is facing the right way and tilts up and down smoothly.
- Repeat the process for each window in your bay.

How To Hang Roman Blinds In A Bay Window
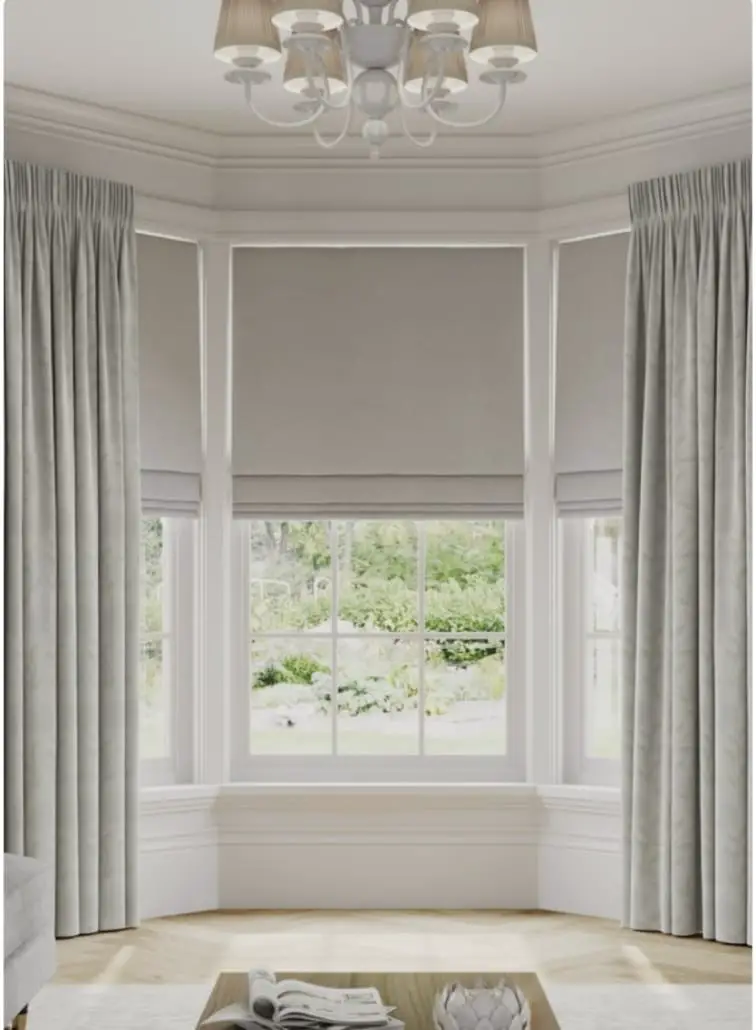
Roman blinds are a cozy and stylish choice for bay windows, as they can add softness and texture to your space. You can choose from different fabrics, colors, patterns, and linings to suit your decor and preference. Here are the basic steps to hang Roman blinds in a bay window:
- Measure the width and drop of each window in your bay. You can either measure inside the window recess for a recessed fit or outside the window frame for a face-fix fit. For a recessed fit, measure from the inset on the left side to the inset on the right side near the top of each window, where the bracket will be installed. Also measure near the middle and bottom of each window, in case your window frame is not perfectly square. Use the smallest width measurement you get for each window, then subtract ⅜ of an inch (1 cm) to be on the safe side. For a face-fix fit, measure from corner to corner of each window at the top, where the bracket will be installed. Add at least 2 inches (5 cm) to each side for overlap and light control.
- Order your Roman blinds according to your measurements and preferences. You can either order custom-made Roman blinds or buy ready-made Roman blinds and cut them to size if necessary.
- Install the brackets for each Roman blind on the wall or inside the window recess, following the manufacturer’s instructions. Use a drill, screws, wall plugs, and a spirit level to ensure a secure and level installation.
- Attach the Roman blind to the brackets by sliding it into place until it snaps securely. Make sure the blind is facing the right way and folds up and down smoothly.
- Repeat the process for each window in your bay.

That’s A Wrap!
We hope you enjoyed this post and learned how to hang blinds in a bay window with ease. If you have any questions or comments, feel free to leave them below. And don’t forget to check out our other posts on home decor and lifestyle topics. We have tons of tips and tricks to make your home beautiful and cozy. See you soon!
Dale is the colorful mind behind HuetifulHomes.com, where he shows you how to create a home that is as fun and fabulous as you are. He has a passion for color and a knack for DIY, with years of interior design experience he shares his tips and tricks on how to create a home that reflects your personality and style. He believes that color is the key to happiness, and he wants to help you make your home more Huetiful.


