Do you love the look of ombre curtains but don’t want to spend a fortune on them? Well, I have some good news for you. You can make your own ombre curtains with just a few supplies and some creativity. And trust me, it’s easier than you think!
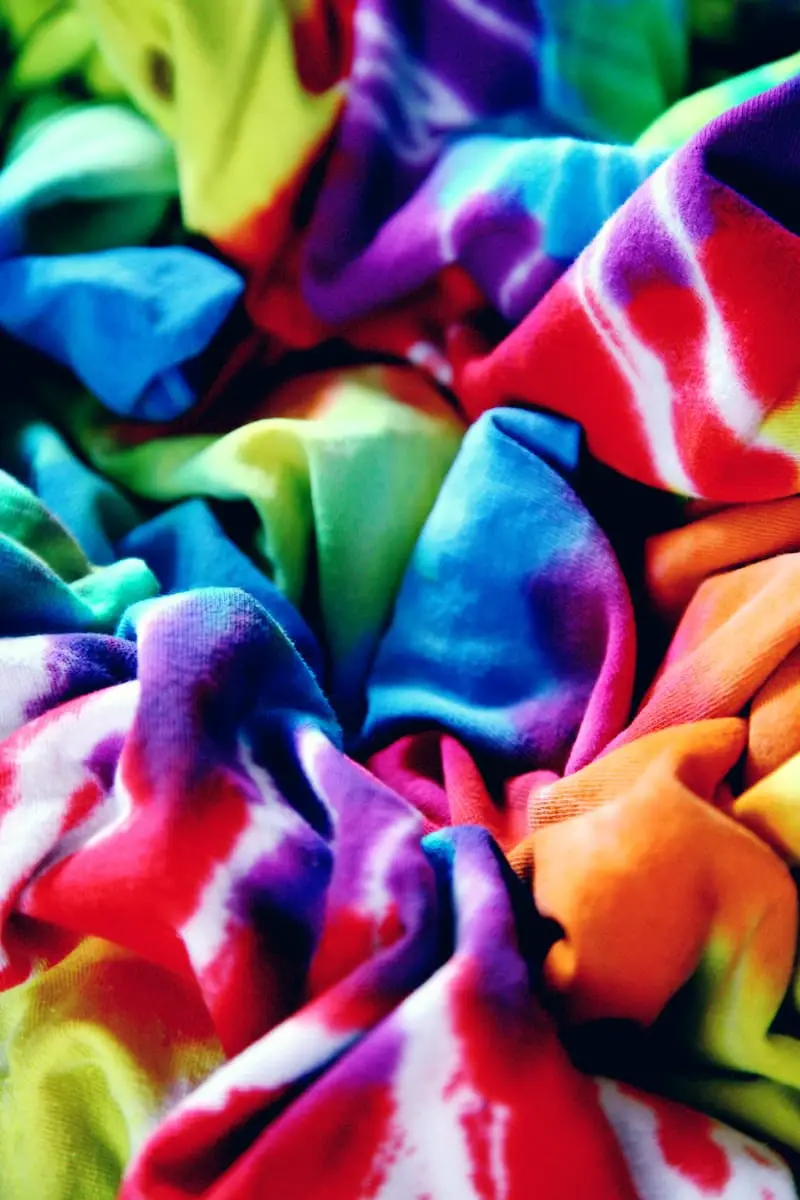
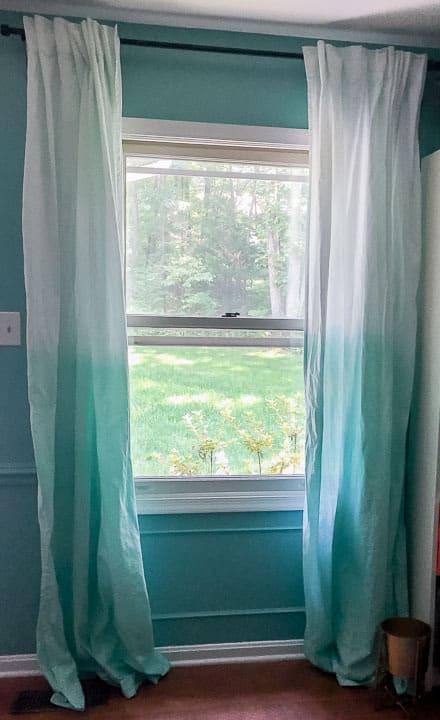
Ombre curtains are curtains that have a gradient of color from light to dark, creating a stunning visual effect. They are perfect for adding some drama and personality to your windows.
You can choose any color you like for your ombre curtains, but I recommend picking one that matches your decor and mood. For example, you can go for a soothing blue ombre for a relaxing bedroom, or a vibrant pink ombre for a fun living room.
There are different ways to create ombre curtains, but today I’m going to show you the easiest and most popular method: dip dyeing. Dip dyeing is exactly what it sounds like: you dip the bottom of your curtains in a bucket of dye and gradually pull them out to create a gradient effect.
To make your own ombre curtains, you’ll need the following items:
Before you start dyeing your curtains, make sure you wash and dry them to remove any dirt or stains. Also, protect your work area with plastic sheeting or newspaper to avoid any spills or stains.
Here are the steps to dip dye your curtains:

Q: Can I use any type of fabric for my ombre curtains?
A: Not all fabrics will take dye well, so it’s best to use natural fibers like cotton, linen, or silk. Synthetic fabrics like polyester or nylon may not absorb the dye properly or may fade over time.
Q: How do I wash my ombre curtains?
A: You can wash your ombre curtains by hand or in the machine on a gentle cycle with cold water and mild detergent. Do not use bleach or fabric softener as they may damage the color. Hang them to dry and iron them on low heat if needed.
Q: How do I prevent my ombre curtains from bleeding or fading?
A: To prevent your ombre curtains from bleeding or fading, you can use a color fixative like Rit ColorStay Dye Fixative after rinsing them. This will help seal the color and make it more durable.
I hope you enjoyed this tutorial on how to make your own ombre curtains. They are such a fun and easy way to spice up your windows and add some color to your home.

Dale is the colorful mind behind HuetifulHomes.com, where he shows you how to create a home that is as fun and fabulous as you are. He has a passion for color and a knack for DIY, with years of interior design experience he shares his tips and tricks on how to create a home that reflects your personality and style. He believes that color is the key to happiness, and he wants to help you make your home more Huetiful.

