
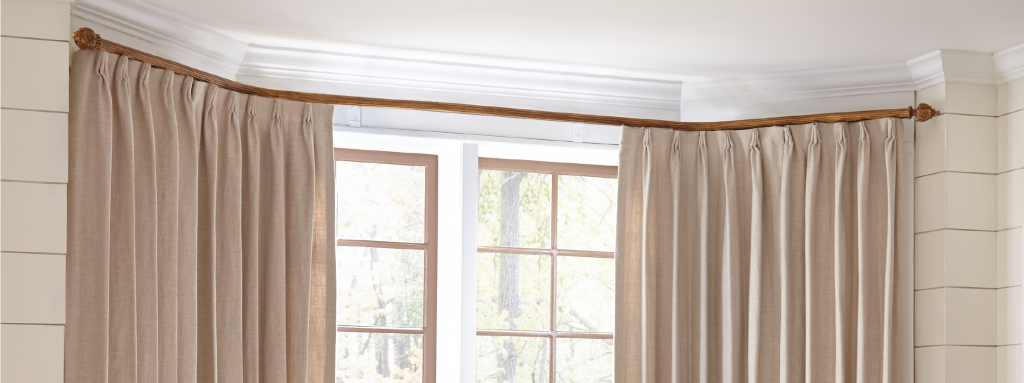
Traverse curtain rods are a special type of curtain rods that have a cord or a wand that allows you to open and close your curtains with ease and precision. Traverse curtain rods have small hooks or slides that attach to the curtain header and glide along the rod. They are ideal for heavy or long curtains that need extra support and stability. They also create a smooth and elegant look for your curtains with their hidden hardware and seamless appearance.
Wondering how to install traverse curtain rods for a smooth and elegant look? Here are some tips and tricks from the experts that will help you achieve the best results.
The best way to install traverse curtain rods is to measure your window, mark the bracket positions, drill the holes, attach the brackets, insert the rod, attach the cord or wand, insert the hooks or slides, and hang the curtains. You can also use a level, a stud finder, and some anchors to ensure a secure and stable installation.
The first step to install traverse curtain rods is to measure your window. You need to measure the width and height of your window frame to determine the length of the rod and the position of the brackets. As a general guide, you should extend your rod about 15-20 cm beyond each side of the window frame. This will create more space for your curtains to stack back when they are open.

The next step is to mark the bracket positions on the wall or ceiling. You should receive brackets with your curtain rod kit, but you can also buy extra ones if you need more support or stability for your curtains. As a general guide, you should position your brackets about 10-15 cm above the window frame and align them with the marks you made for the rod length. You can also adjust the position of the brackets according to your preference and style.
The third step is to drill the holes for the brackets. You need to use a drill bit that matches the size of the screws or anchors that came with your curtain rod kit. You also need to use a stud finder to locate any studs or pipes behind the wall or ceiling. If you hit a stud or pipe, you need to move your bracket position slightly and mark it again.
The fourth step is to attach the brackets to the wall or ceiling. You need to use a screwdriver or a drill with a screwdriver bit to fasten the screws or anchors through the holes in the brackets. You also need to use a level to make sure that the brackets are aligned and level.
The fifth step is to insert the rod into the brackets. You need to unlock both ends of the rod and extend them until they fit snugly into the brackets. You can also adjust the length of the rod as needed.
The sixth step is to attach the cord or wand to the rod. The cord or wand is what allows you to open and close your curtains with ease and precision. Depending on your preference and style, you can choose either a cord or a wand for your traverse curtain rod. A cord is usually attached to one end of the rod and runs through small pulleys on each bracket. A wand is usually attached to one side of each curtain panel and hooks onto a small ring on each end of the rod.
To attach a cord, you need to thread it through each pulley on each bracket and tie it securely at one end of the rod. To attach a wand, you need to hook it onto each ring on each end of the rod.
The seventh step is to insert the hooks or slides into the rod. The hooks or slides are what attach your curtains to the rod and allow them to glide along it. Depending on your preference and style, you can choose either hooks or slides for your traverse curtain rod. Hooks are usually metal pieces that hook onto small loops on each end of each hook or slide channel on each side of each bracket on each end of each side of each side of each side of each side of each side of each side of each side of each side of each side of each side
To insert hooks, you need to push them into each loop on each hook channel until they snap into place.
To insert slides, you need to push them into each slot on each slide channel until they click into place.
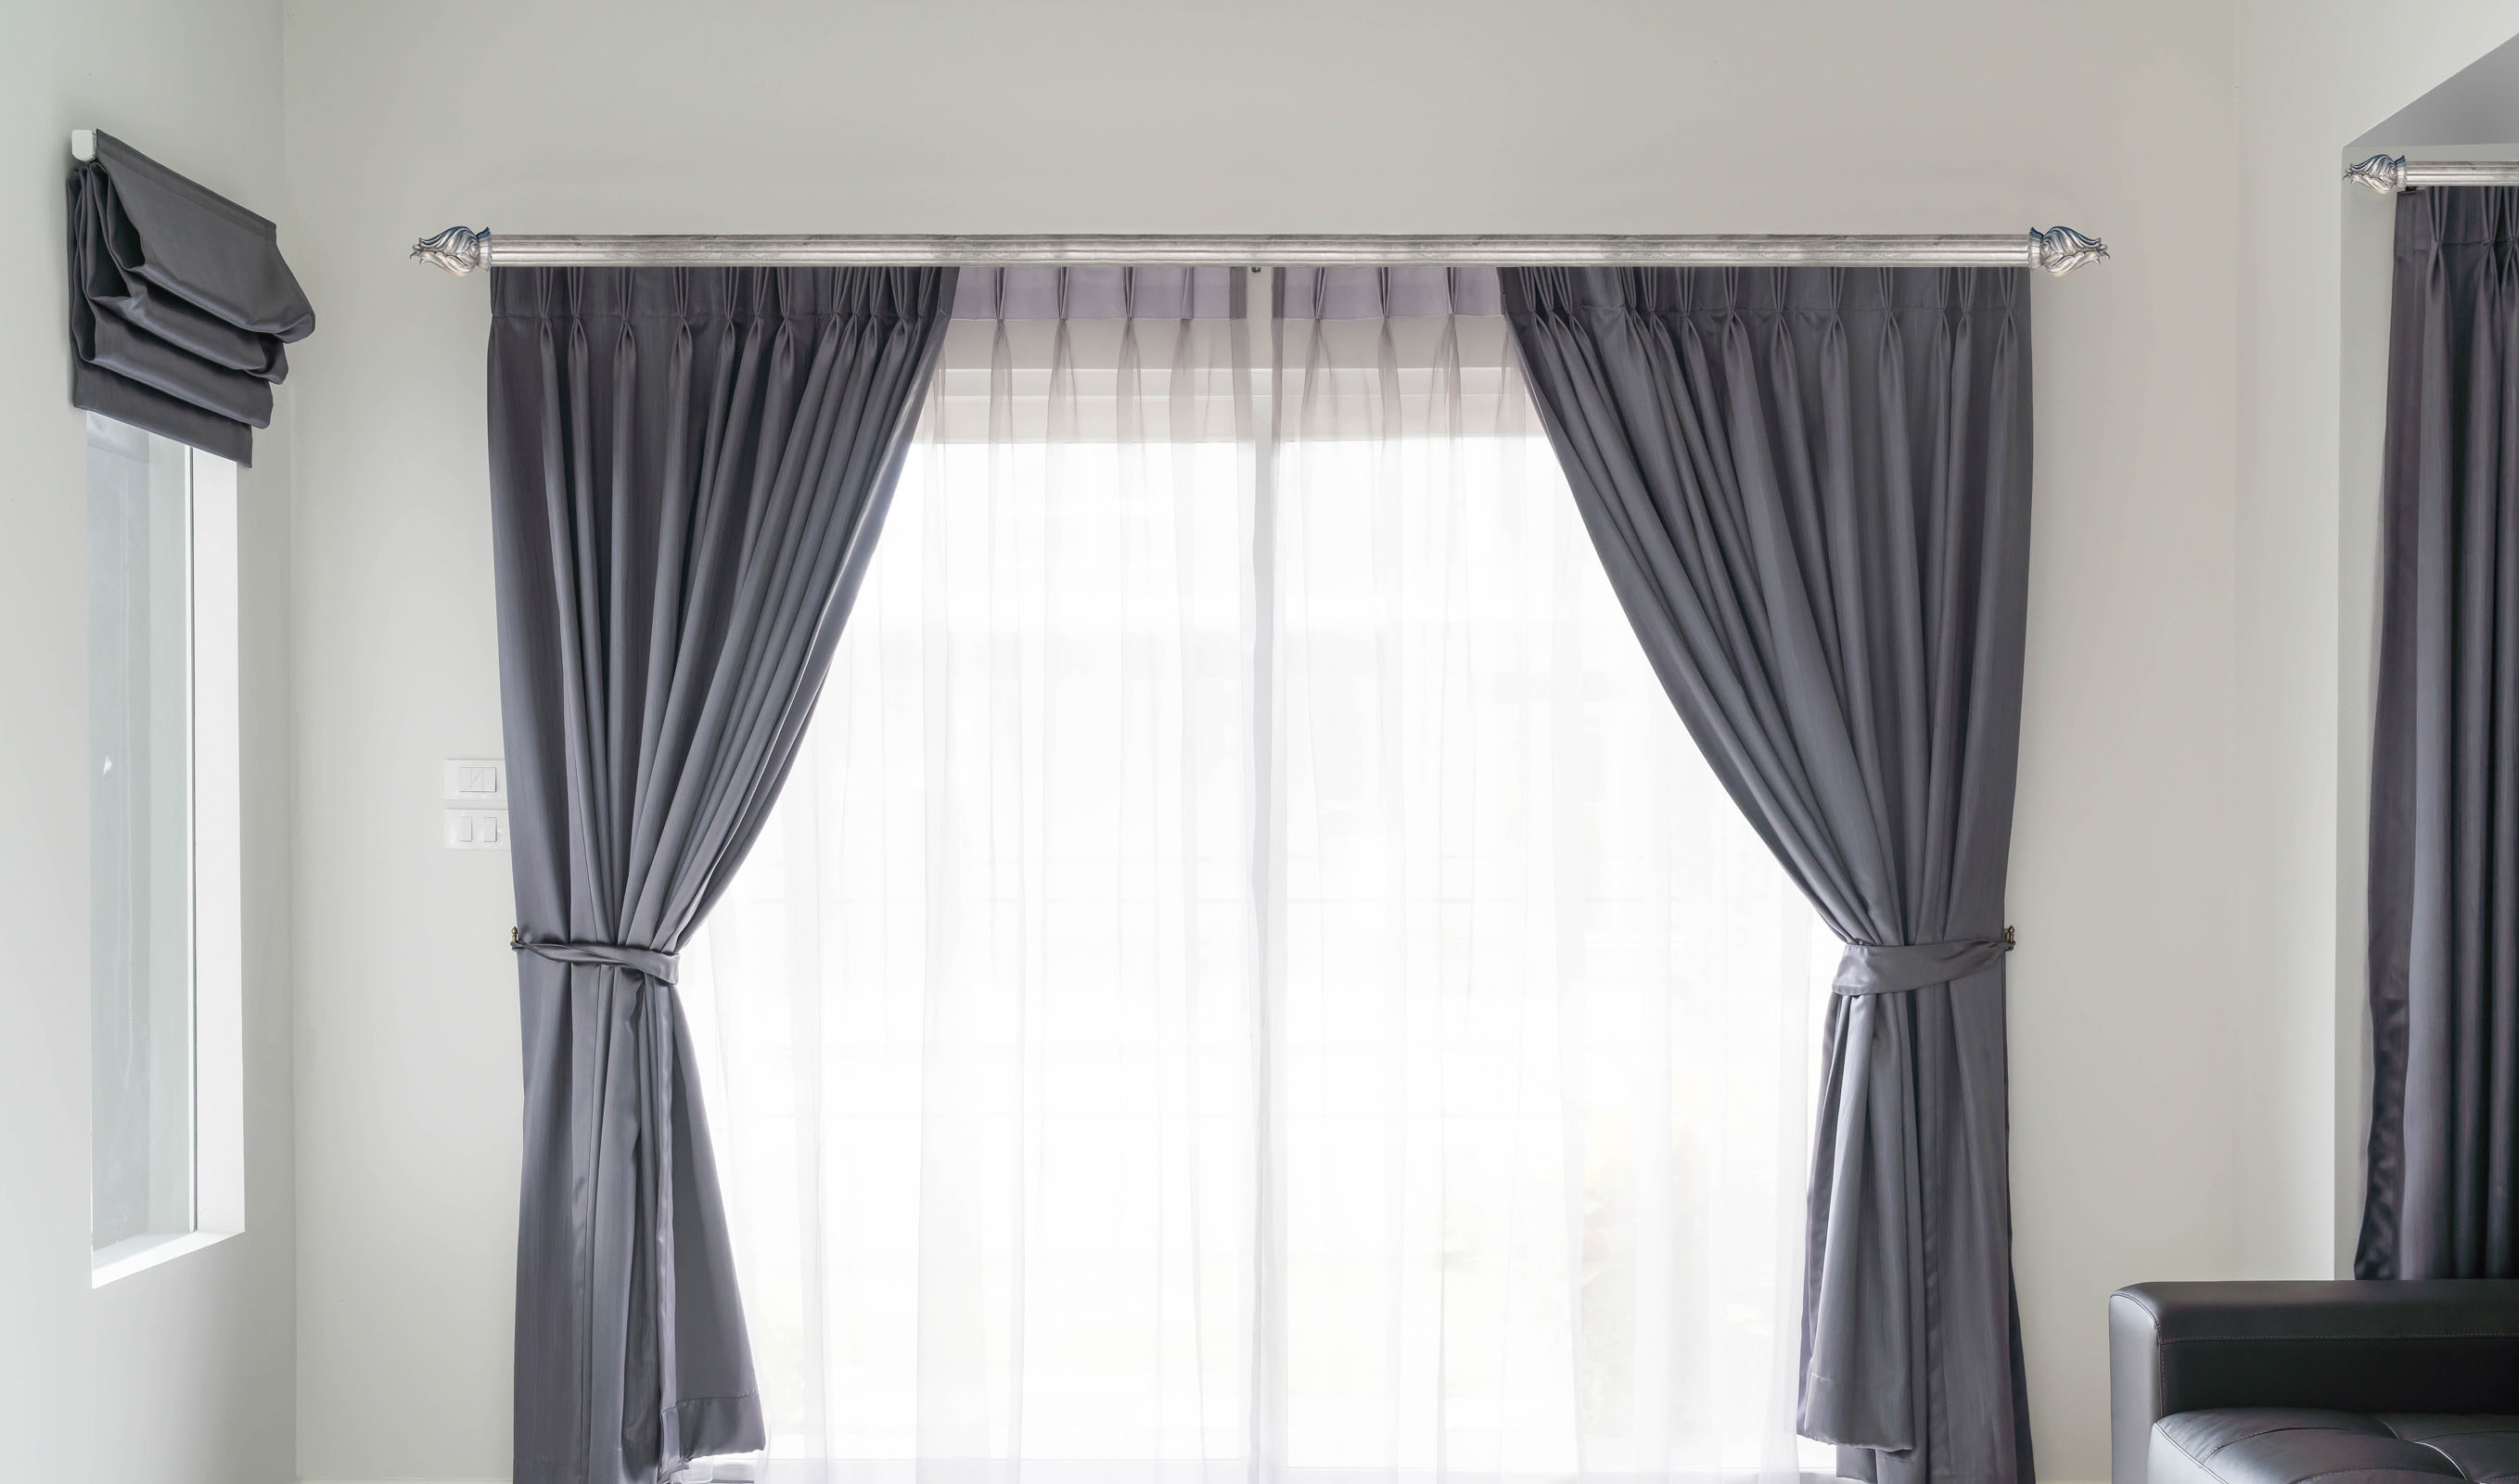
The final step is to hang your curtains on the rod. To do this, you need to attach your curtain hooks to your curtain header. The curtain header is the part of the fabric that connects to the rod or track. Depending on the type of header you have, you may need to sew, clip, or hook your curtain hooks onto it. Then, hook your curtain hooks onto the hooks or slides on the rod. You can also adjust the length of your curtains by folding over the top and clipping or sewing it in place.
Q: How do I choose the right traverse curtain rods for my window?
A: To choose the right traverse curtain rods for your window, you need to consider several factors, such as your window size, shape, and style; your curtain weight, type, and header; your room theme and decor; and your personal taste and preference. You can find different types of traverse curtain rods for different types of windows, such as standard windows, bay windows, corner windows, etc.
Q: How do I maintain my traverse curtain rods?
A: To maintain your traverse curtain rods, you need to follow some simple steps, such as dusting them regularly with a soft cloth or a vacuum cleaner; wiping them occasionally with a damp cloth and some mild detergent; lubricating them periodically with some silicone spray or oil; and tightening them if they become loose or saggy.
Q: How do I remove my traverse curtain rods if I need to change them?
A: To remove your traverse curtain rods if you need to change them, you need to reverse the steps above. First, unhook your curtains from the rod and set them aside. Then, loosen both ends of the rod and slide them out of the brackets. Next, unscrew or unclip the brackets from the wall or ceiling and discard them if they are damaged or worn out.
Installing traverse curtain rods is a simple and easy way to hang your curtains on your window and create a smooth and elegant look for your space. Whether you need to fit a standard window, a bay window, or a corner window, you can follow these tips and tricks from the experts and achieve the best results.

Dale is the colorful mind behind HuetifulHomes.com, where he shows you how to create a home that is as fun and fabulous as you are. He has a passion for color and a knack for DIY, with years of interior design experience he shares his tips and tricks on how to create a home that reflects your personality and style. He believes that color is the key to happiness, and he wants to help you make your home more Huetiful.

